How to install a power inverter
It's actually quite simple: connect red terminal on the inverter to the positive terminal on the battery and black terminal on the inverter to the negative terminal on the battery. Unfortunately, sometimes this simple approach leads to undesirable consequences.

Figure 1. Womp-womp
I don't know if anybody ever collected statistics of most common causes of road fires, but I am pretty sure improper inverter installation would be high on the list. The reason is the two categories of people usually involved in the installation process: mechanics and drivers usually lack the appropriate level of respect to electricity and what it can do. So if you decide to install an inverter yourself (or an amplifier, for example), there's one major thing to keep in mind: if the positive cable breaks insulation and touches any exposed metal part of the body it can start a fire . So it all comes down to making sure it doesn't happen. I am going to share the precautions I usually take.
I usually start with the inverter. Identify where you want to secure it. Make sure it's out of the way and it allows to run the cables to it without excessive labor. I like using rivets for two reasons: I can do it all from one side and it makes it harder for drivers to steal it.
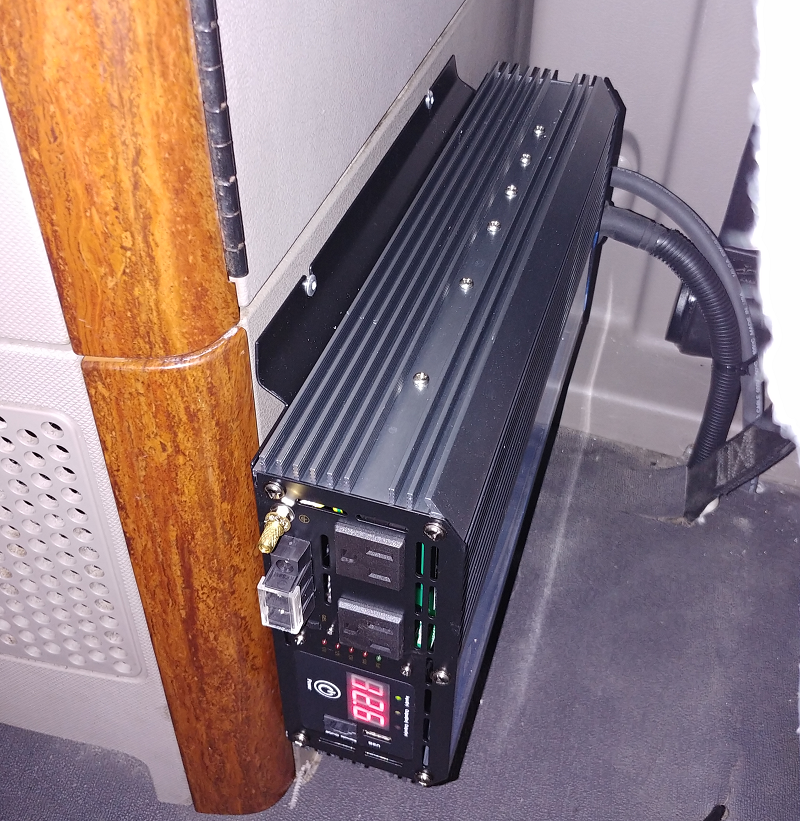
Figure 2. Installed behind the driver's seat on Freightliner Cascadia
Now that we know where the cables have to go, we can start connecting. Pick a good place to drill through the cab, make sure you are not drilling through anything important like wires running under the floor. I like to make two small holes instead of one big one. Using appropriate size grommets makes sure the cable isn't going to rub through the insulation and helps keep the cab airtight.
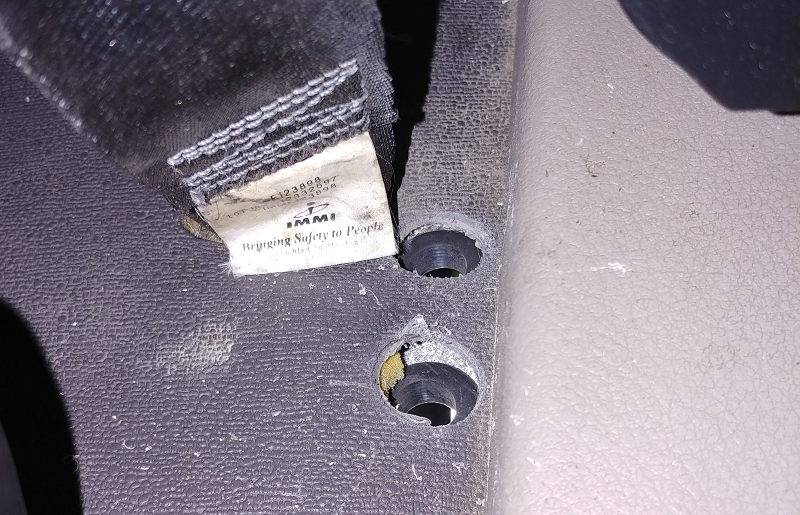
Figure 3. Floor holes with grommets
Now to the cables. I usually go with 1/0 welding cable. It is tough, flexible and allows connecting inverters up to 3.5 kW. I crimp it on both sides and reinforce the positive cable with heat-shrink and wire loom tubing .
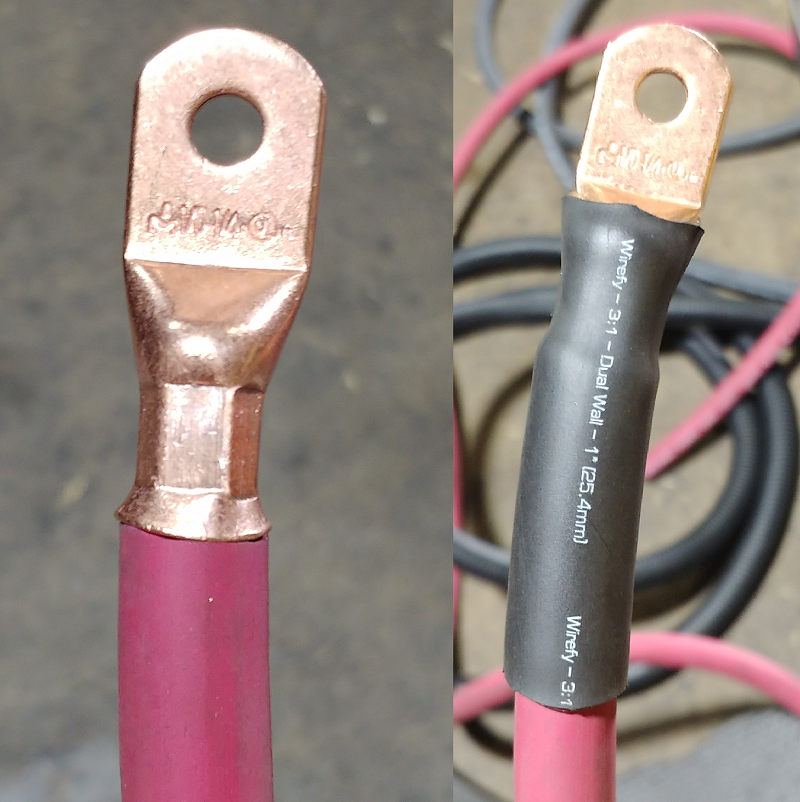
Figure 4. Cable termination
Here's a professional tip: once you cut the cable to desired length, lay it so it finds a comfortable position, put the lugs on and make a mark. This way it won't get twisted after the crimping.
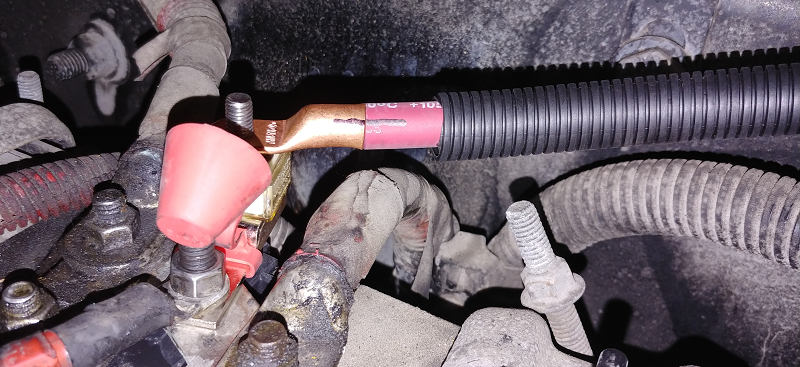
Figure 5. Correct orientation mark
Now to the most important and most commonly omitted part: the fuse. NEVER run any power cables from the battery without a fuse installed on the positive cable as closely to the terminal as possible. It is just an accident waiting to happen. It only costs $40, and it actually let's you skimp on all the other precautions we just talked about. But you have to properly rate it. I always rate the fuse to the cable, since most power devices have their own protection in place. You can use this table to choose appropriate rating for you.
| Wire | Max current | Max power |
|---|---|---|
| 6AWG | 100A | 1000W |
| 4AWG | 150A | 1500W |
| 3AWG | 200A | 2000W |
| 2AWG | 250A | 2500W |
| 1AWG | 300A | 3000W |
| 1/0AWG | 400A | 4000W |
| 2/0AWG | 500A | 5000W |
You can always go with a smaller fuse, but never exceed wire's max current rating. I like to use Blue Sea Systems MRBF terminal mount fuse blocks on all my truck installations, but it might not fit your car. And it is always a good idea to put some king of protective coating on the terminals to prevent oxidation, and secure all the cables with zip-ties so they don't rub against each other and the frame.
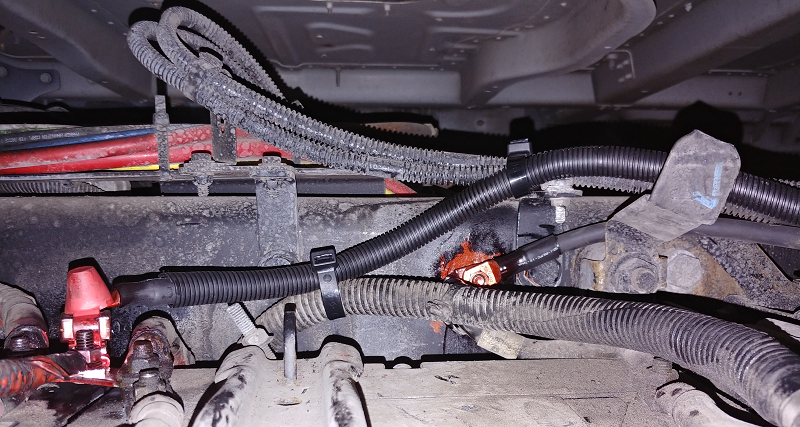
Figure 6. Secured cables
If you do everything properly, it will take you couple hours and few extra bucks, on the other hand a new truck costs much more, and a new skin probably even more than that, so it might be worth it to go extra mile on this one.
Log in to leave comments